

Plastic prototype fabrication is vital in turning ideas into tangible models, allowing designers to assess form, fit, and function before mass production.

This process refines concepts, reveals issues, and enables design optimization, bridging the gap from idea to production.
It ensures the final product is functional, appealing, and market-ready.
The Role and Benefits of Plastic Prototyping

Plastic prototyping is an essential step in product development, serving as a “dress rehearsal” for your product.
Creating a prototype helps validate the design, functionality, and feasibility, allowing adjustments before full-scale production.
Importance in Product Development
Plastic prototypes allow real-world testing of fit, form, and function, helping spot issues that aren’t visible in digital models and ensuring the final product performs as expected.
Key Benefits
- Testing and Validation: Prototyping lets you verify design accuracy, ensuring all parts align with the intended form and function.
- Cost and Time Savings: Addressing design flaws early prevents costly production errors, allowing for faster, focused improvements.
- Flexibility and Customization: Prototyping enables quick design tweaks based on testing, ensuring optimal usability and performance.
- Reduced Risk and Enhanced Creativity: Prototyping minimizes production risks and inspires innovative design improvements in a controlled, low-risk setting.
Preparing for Plastic Prototype Development

Preparing for plastic prototype development starts with a detailed CAD (Computer-Aided Design) model, your digital blueprint for capturing every aspect of the product’s design—from precise dimensions to part fit.
This model allows you to visualize the product’s features and functionality, providing insights into potential design issues before moving to physical materials and saving time and resources.
In this phase, it’s crucial to distinguish between visual prototypes, which showcase the product’s look for early evaluations or investor presentations, and functional prototypes, which replicate the actual use, durability, and mechanics needed for real-world testing.
This planning step ensures an efficient path forward in product development, minimizing costly revisions.
Popular Methods for Plastic Prototyping
When it comes to creating plastic prototypes, choosing the right method can make a world of difference in the results.
Each prototyping technique offers unique strengths that are suited to different stages and needs in product development.
Let’s dive into four of the most popular methods—each bringing its own set of advantages, limitations, and ideal use cases.
1. Vacuum Casting

Process: Vacuum casting is a go-to method for high-precision prototypes, especially when complex shapes and fine details are involved.
This process involves pouring liquid plastic into silicone molds, which are created from a master model.
Once the material sets, the mold produces replicas that capture intricate details beautifully.
Benefits: Vacuum casting is excellent for producing prototypes with varied textures, making it a top choice for models that need to mimic a final product’s surface quality.
It also works well with a range of materials, offering flexibility in the finish and feel of each part.
Drawbacks: While effective, silicone molds typically have a shorter lifespan and can degrade after around 20 to 25 uses.
Additionally, parts made through vacuum casting may lack the durability needed for extensive real-world testing, making this method better suited for visual or fit-and-feel prototypes.
2. 3D Printing

Overview of Common Types:
- FDM (Fused Deposition Modeling): Ideal for early-stage concept models; low-cost and efficient.
- SLA (Stereolithography): Known for producing high-resolution parts; great for detailed visual models.
- SLS (Selective Laser Sintering): Excellent for functional prototypes, as it uses a laser to fuse powdered material, creating durable parts with better mechanical strength.
Key Advantages: 3D Printing is widely popular because of its fast turnaround times, lower production costs, and incredible design flexibility.
This method allows for rapid iterations, letting you refine your design with ease.
Drawbacks: Although versatile, 3D-printed parts may lack the mechanical strength and fine surface finish of other methods.
Certain types, like FDM, can also leave visible layer lines, requiring additional post-processing for a polished look.
3. CNC Machining

Process: CNC machining is a subtractive manufacturing process that carves out parts from solid blocks of material using computer-controlled tools.
This method excels at creating precise, highly accurate parts from a variety of materials, from plastics to metals.
Advantages: CNC machining offers high accuracy and surface finish, making it ideal for functional prototypes that need to mimic final production parts closely.
It supports tight tolerances, threads, and undercuts, which are essential for parts undergoing performance testing.
Drawbacks: CNC machining is less suited for complex geometries and extremely flexible parts, as it relies on rigid tools and solid blocks.
This process can also become costly when used for highly detailed or intricate designs that 3D Printing may handle more effectively.
4. Injection Molding

Process: Injection molding involves injecting molten plastic into a metal mold, creating a prototype that closely resembles the final product in appearance and function.
This method is ideal for producing prototypes with the exact material as the end product, ensuring accurate real-world testing.
Ideal For: Injection molding is particularly effective for final-stage prototypes that need to be highly durable and complex in shape.
It’s commonly used when creating models for industries with strict quality standards, such as medical or automotive fields.
Limitations: The initial setup for injection molding can be expensive due to the mold creation process, making it less suitable for early-stage prototyping or frequent design changes.
Once a mold is made, adjustments can be both time-consuming and costly.
By choosing the right prototyping method based on your project needs, you can ensure your prototype is functional, cost-effective, and true to your product vision.
Each method has its strengths, so consider what matters most—whether it’s speed, detail, durability, or flexibility—as you plan your prototype.
Key Considerations for Choosing a Prototyping Method
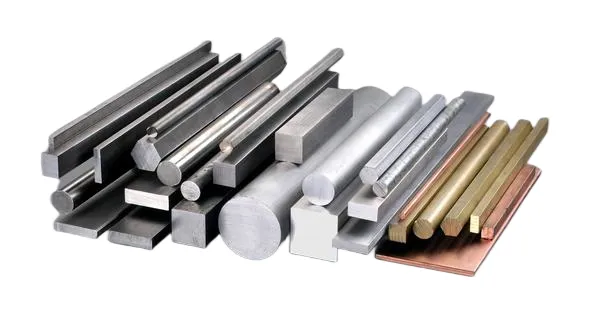
Selecting the right prototyping method means aligning with your project’s goals, budget, and timeline.
Here’s what to keep in mind:
- Purpose and Application
Determine whether the prototype is for visual, functional, or production-ready testing, as this will dictate the best method.
For example, 3D Printing works for visual models, while CNC or injection molding suits functional testing.
- Material Selection
Choose materials that match your prototype’s needs—CNC machining supports durable materials like ABS and metals, whereas vacuum casting provides versatile textures but less durability.
- Part Complexity and Design
Complex shapes may favor 3D Printing, which is known for flexibility, while CNC machining handles tight tolerances well but may struggle with intricate designs.
- Volume and Cost
For low-volume runs, 3D Printing is budget-friendly.
For larger quantities, injection molding offers long-term cost efficiency despite higher initial tooling expenses.
- Lead Time and Speed
If speed is critical, opt for 3D Printing’s rapid turnaround.
For more durable parts, consider CNC machining or injection molding, which may require longer setup times.
Carefully considering each factor ensures the method you select supports your project’s goals, budget, and timelines effectively.
Cost Factors in Plastic Prototyping

Understanding the cost factors in plastic prototyping is essential for making the most of your budget and ensuring that every dollar spent helps refine and advance your product.
Let’s dive into the costs associated with popular prototyping methods, so you know where your investment is going and when to scale.
Cost Comparison
Each prototyping method comes with its own price range, and these costs can vary based on material, complexity, and turnaround time.
Here’s a breakdown:
- 3D Printing: Generally the most budget-friendly option for early-stage prototypes, 3D printing costs range from as low as $10 for simple PLA models to several hundred dollars for high-quality, large-scale models. It’s ideal for rapid iteration without heavy investment, making it popular for proof-of-concept models.
- CNC Machining: CNC can be pricier, often starting around $50-$100 per part, depending on material and complexity. However, its ability to produce highly detailed, durable prototypes justifies the cost of functional testing. This method is excellent for prototypes that require durability and precision.
- Injection Molding: Injection molding has higher upfront tooling costs, often running several thousand dollars for creating the mold. However, once the mold is made, per-part costs drop dramatically, making it economical for larger production runs. If you plan to make hundreds or thousands of parts, this method can be a cost-effective choice despite the initial expense.
When to Consider Scaling with CNC or Injection Molding

When your production needs begin to grow, economies of scale come into play.
Here’s when you might consider scaling:
- 3D Printing: If you need only a handful of prototypes or frequent updates to the design, 3D Printing remains cost-effective even at scale. But if you’re moving beyond 50 parts or require high consistency, it might be wise to consider other methods.
- CNC Machining: CNC is cost-effective when producing low to medium volumes, especially if you need prototypes made from the same materials used in final products. For small batches of functional parts, CNC is an ideal option, though per-part costs don’t drop significantly with higher volumes compared to injection molding.
- Injection Molding: When you reach a production level where hundreds or thousands of prototypes or parts are needed, injection molding becomes the most economical choice. Once the initial mold is created, per-part costs are minimal, and the method is perfect for high-volume production where uniformity is key.
By understanding the cost implications of each prototyping method, you’ll be able to select a process that aligns with your project budget and goals, helping you invest wisely while keeping quality and efficiency in focus.
Materials Commonly Used in Plastic Prototyping
Choosing the right material is just as important as selecting the right prototyping method.
The material not only affects the appearance and strength of the prototype but also determines its suitability for various testing scenarios.
Let’s explore some of the most popular materials used in plastic prototyping, from versatile thermoplastics to specialty resins and elastomers.
Thermoplastics: ABS, Nylon, Polycarbonate
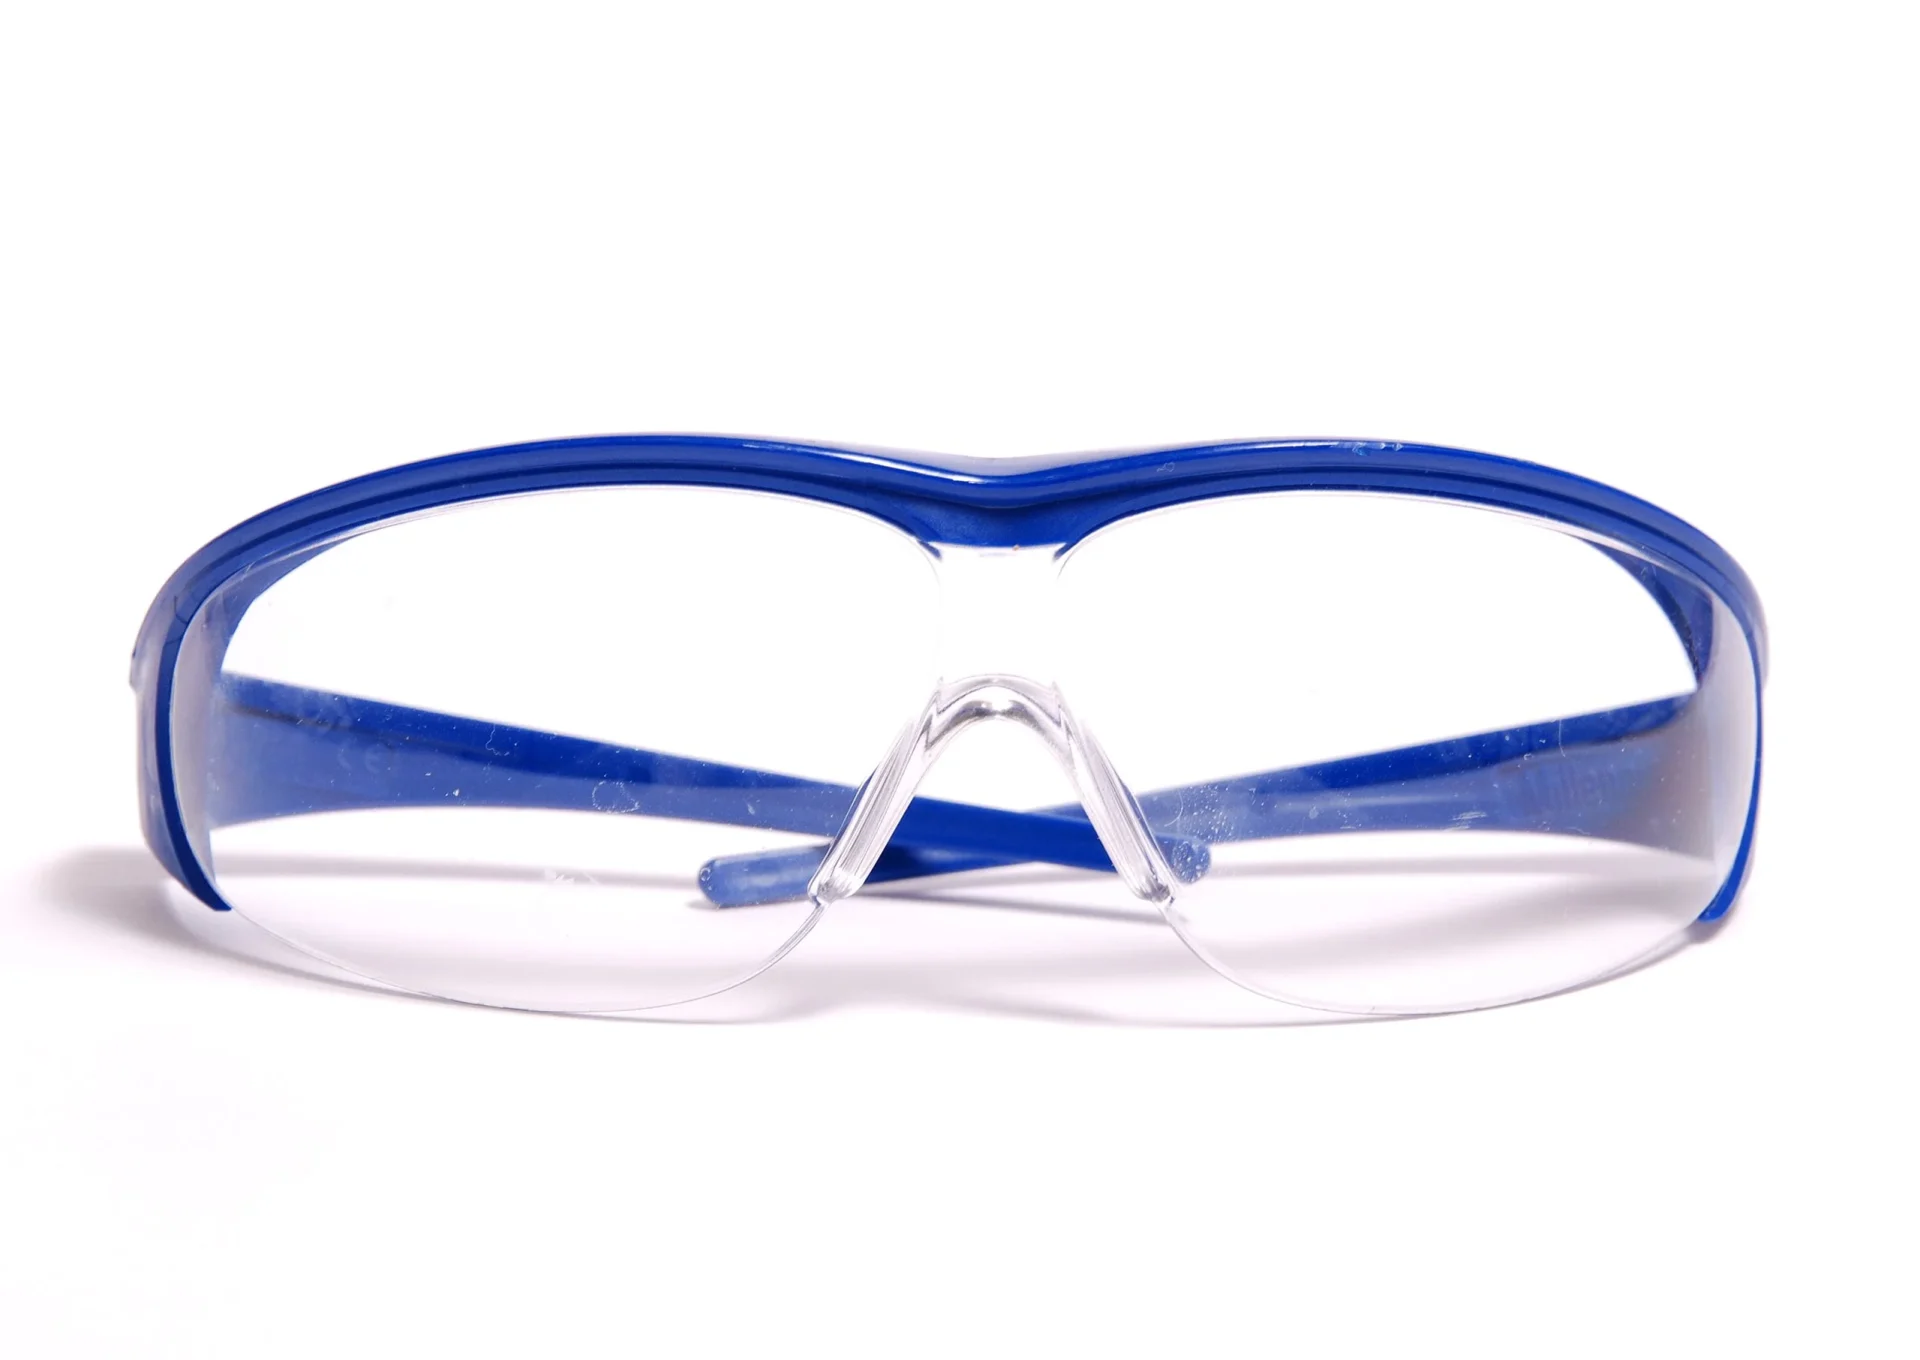
Thermoplastics are among the most common materials for plastic prototypes due to their durability, flexibility, and ease of use.
- ABS (Acrylonitrile Butadiene Styrene): ABS is popular for its balance of strength and flexibility, making it great for functional prototypes. It’s tough enough to handle wear and tear, resists impact, and can be easily machined or printed.
- Nylon: Known for its excellent mechanical properties, Nylon is a go-to for durable prototypes, especially those that need to withstand stress or friction. It’s often used in gears, bearings, and other parts that require toughness and wear resistance.
- Polycarbonate: This thermoplastic is valued for its clarity and high impact resistance. It’s ideal for prototypes that require transparency or strength and can withstand higher temperatures than ABS, making it suitable for demanding applications.
Resins and Elastomers: Applications and Key Properties

Resins and elastomers offer unique qualities, especially for prototypes with specific functional or aesthetic needs.
- Resins: Resins, particularly those used in SLA (Stereolithography) printing, create highly detailed prototypes with a smooth finish. They’re perfect for visual models or parts that need a high level of detail. Some resins are even biocompatible, making them suitable for medical prototypes, while others offer flexibility for more complex designs.
- Elastomers: Known for their flexibility and rubber-like properties, elastomers are perfect for prototypes that need to bend, stretch, or withstand impact. Materials like TPU (Thermoplastic Polyurethane) offer durability, abrasion resistance, and a soft touch, making them ideal for wearables, grips, and over-molded parts.
Selecting the right material for your plastic prototype can significantly enhance your product development process.
Whether you’re looking for the resilience of ABS, the flexibility of TPU, or the transparency of Polycarbonate, each material offers unique advantages to bring your design closer to reality.
Future Trends in Plastic Prototyping
Plastic prototyping is evolving rapidly, driven by technological advancements and a focus on sustainability.
Here’s a glimpse of where the field is headed.
Advances in Additive Manufacturing

3D Printing is making strides in quality and efficiency, with high-resolution Printing enabling smoother finishes and intricate details that reduce post-processing.
Hybrid Printing, allowing for multiple materials in one prototype, and high-speed 3D Printing are also on the rise, cutting production times significantly and enabling quicker design iterations.
Sustainability and Material Recycling

Eco-friendly practices are reshaping prototyping, with recyclable materials allowing prototypes to be reprocessed for new models, reducing waste.
Biodegradable filaments, plant-based resins, and recycled plastics are also being introduced, aligning prototyping with sustainable goals and enhancing eco-conscious branding.
These trends ensure that plastic prototyping is more versatile, efficient, and environmentally friendly, meeting the needs of innovative industries and eco-minded consumers.
FAQs Related to Plastic Prototype Fabrication
Conclusion
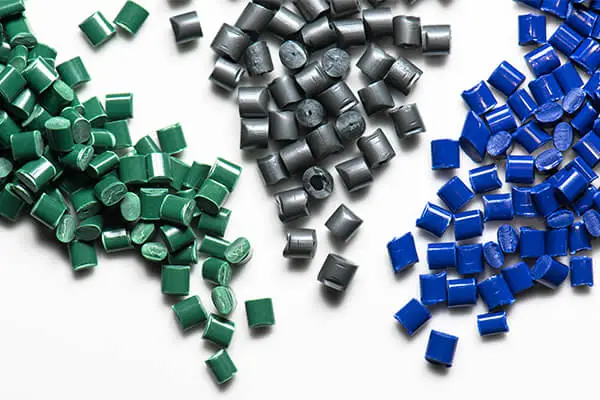
Choosing the right prototyping method is key to producing high-quality plastic parts that meet design, functionality, and cost requirements.
With the right approach, prototyping can streamline development, reduce errors, and speed up time-to-market.
Ready to bring your ideas to life? Thoughtful planning and selecting the best materials and processes are crucial for successful prototypes.
Connect with us today to explore options that fit your project perfectly!
Related Articles
- Ultimate Guide to Non-Ferrous Metals and Uses
- 3D Printing vs CNC Machining: Which Method is Best?
- Brass vs Bronze vs Copper: Key Differences and Uses
- Comprehensive Guide to Metal Strength and Chart
- Aluminum Extrusion Process: Techniques, Benefits, and Applications
- Types of Machining Processes: Full Guide
- Types of Aluminum Alloys: Properties and Industry Uses
- Comprehensive Guide to Bead Blasting Finishes
- Comprehensive Guide to Metal Strength and Chart


 English
 Arabic
 German
 Spanish
 French
 Italian
 Javanese
 Korean
 Portuguese
 Russian
 Hindi
 Chinese
